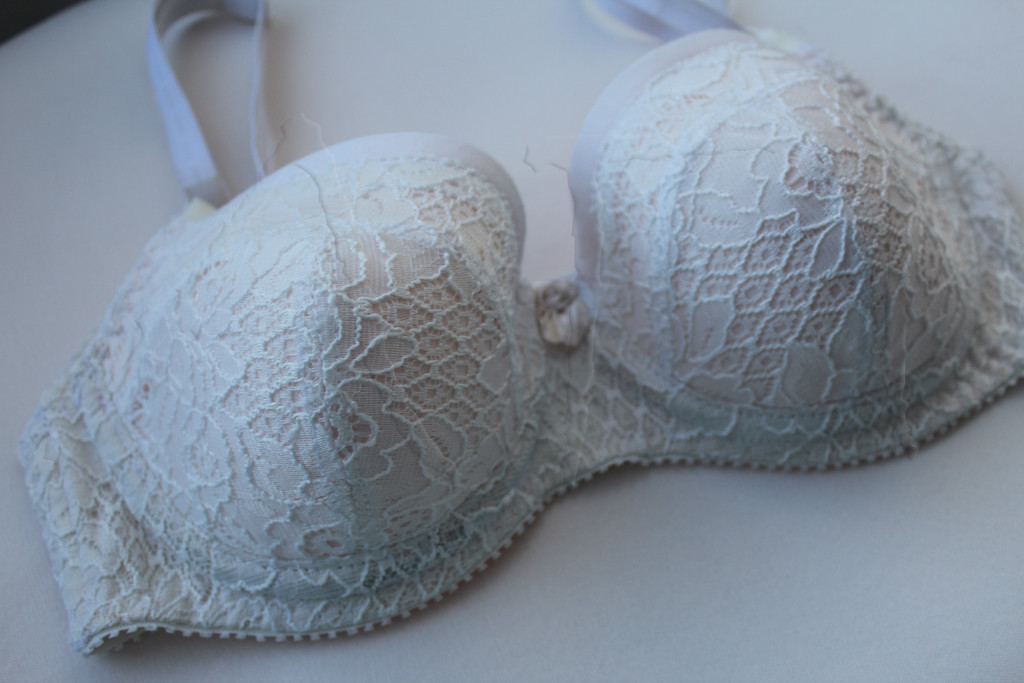
Here’s a new bra I made for testing my pattern. Be warned: a lot of pictures! For the finished bra, skip to the end of this post. For all of you who want to know about the progress and the making, let’s start here.

After the first test bra, I concluded – cups are a bit pointy. For this version (called version nr 3) I altered only the cup shape – added roundness. Quick to sew the foam and there they are: old cup on the left, new cup on the right. Can you spot some changes? Below is a picture with my marking:

So, do you see a more round shape in cup nr2? Yep, very pleased with that!
Trying the cup on my body revealed an interesting thing: one breast fits perfect, the other doesn’t fill the cup completely. And it was the same foam cup I tried on, just turned it inside out when testing it to the other breast ? Also, even if this new cup is better than my previous, I still want a more round shape. There is a trick why I want it so, but I’ll tell you why in another post.
Despite the fact that I’m not completely satisfied with this cup, I decided to go further and sew up a bra. I chose a not very stretchy lace:

This lace proved to be of poor quality, so I do not regret a bit for using it. The minus point is that it’s white and white is difficult to photograph. Picture are very important to me. They are my prove to you on my progress?
And it’s not only that. With every test bra I want to sew different cup styles, so that when you decide to try my pattern, to be able to choose the style you like most. I’m aiming at: one pattern – different styles. Having bad pictures you won’t be able to see the fine details. Here is me working on this new cup. Knit cotton for interfacing that pops to the upper front:


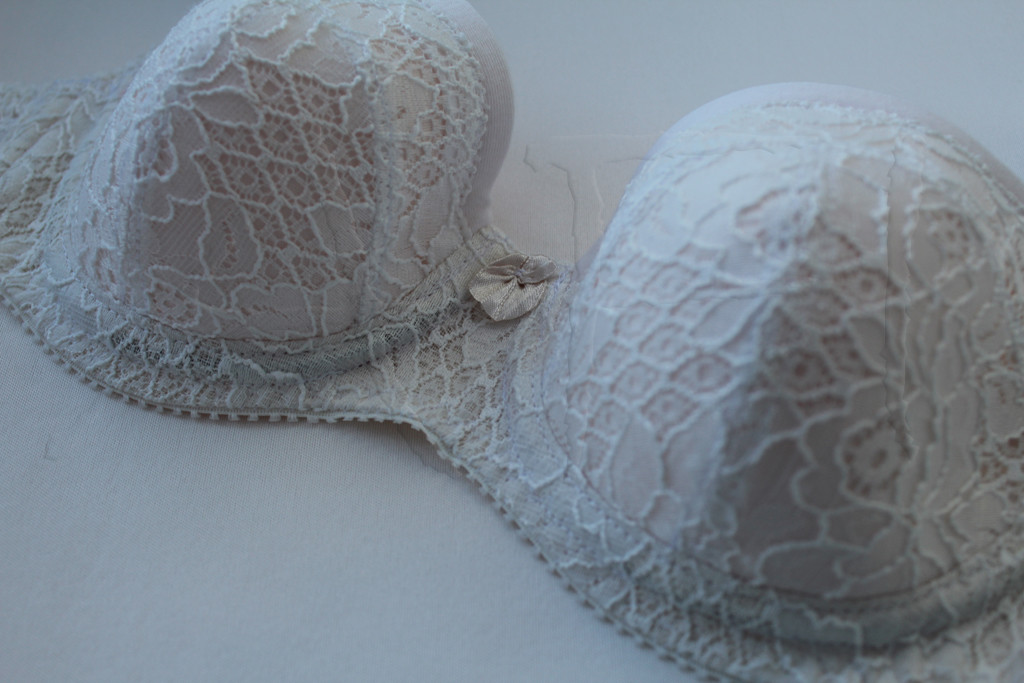


I must confess – I like demi-cups more and for my small shape they would suit me better. But, this is a classic style and more people would sew it, right? Besides, there is a second trick about these cups, of which I’m not telling you yet. My new bra under the blouse:
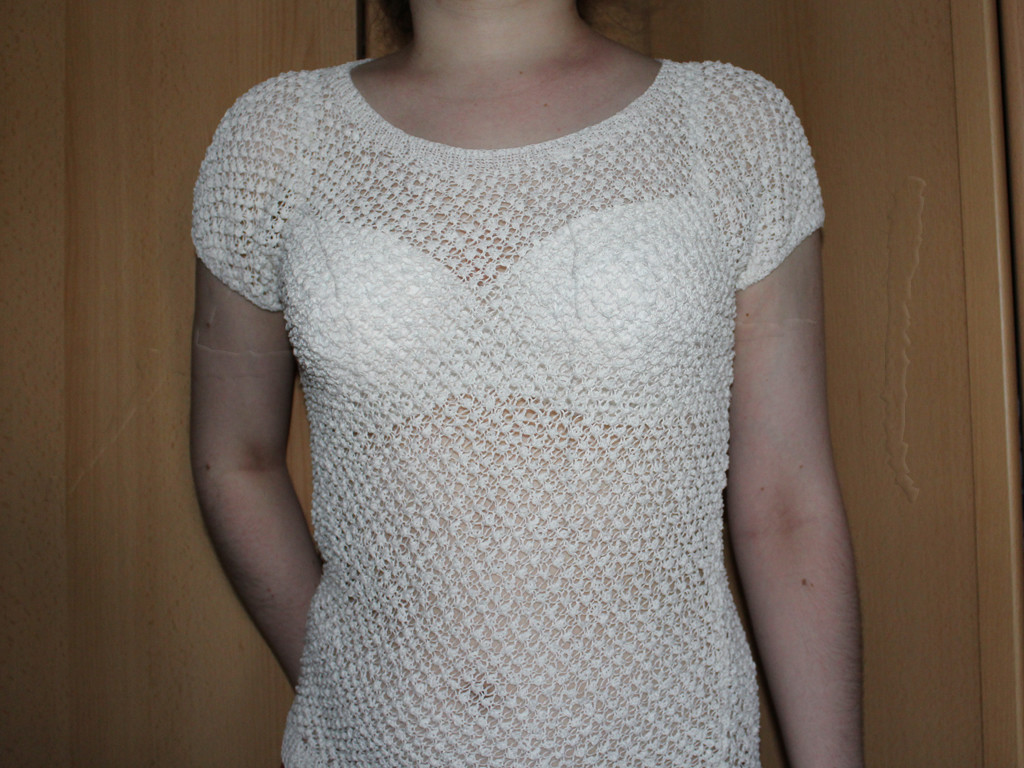


So, what have I’ve learned from this experience?
- the cup has improved – a lot;
- one boob is bigger than the other (not the cup);
- wearing the first bra revealed some troubles with elastics; on this one elastic was measured more careful;
- also, the first bra revealed a problem when wearing; I concluded that it is the bridge; this one has a wider bridge; the alteration I made turns to be the right decision; already planning a tutorial on that;
Most important things I learned:
- I am very grateful I started testing the bra pattern and not published it as it was; if I want a real deal I have to invest in testing;
- testing the pattern makes you learn things about your body shape;
- testing the pattern makes you understand what materials are suitable for this type of bra and what is not recommended;
- testing different elastics makes you narrow down the stretch amount the elastic must have for this bra;
- testing different bra closure makes you understand that a 2-eye hook is not recommended for big cups, like D and above;
- and probable some others points, which slip my mind at the moment. But for one thing I am certain: all these are to be noted down on paper, because they are all going to be mentioned in my bra instructions!



To conclude:
- this bra does not end my tests; the fit is a lot better, but I want cups to be more round; until I’m not getting what I want, I’m not stopping!
- I do have to wear it for a day or two to decide about the comfort;
- I think I’ll apply several minor alterations for the cup;
- testing a theory of mine about the bridge and documenting on that; why? because I plan a tutorial on this
- if you think I got mad with these tests, that’s not close enough! Even if the next bra proves to be “THE ONE”, I still want to make a couple before releasing the pattern; among those, one has to be for my mom – a different size than mine.
And as a final note – I want to express my gratitude for all of you who: read, comment and support me! Thank you all! This bra pattern will be for free – as many sizes as I can draw in my spare time.
