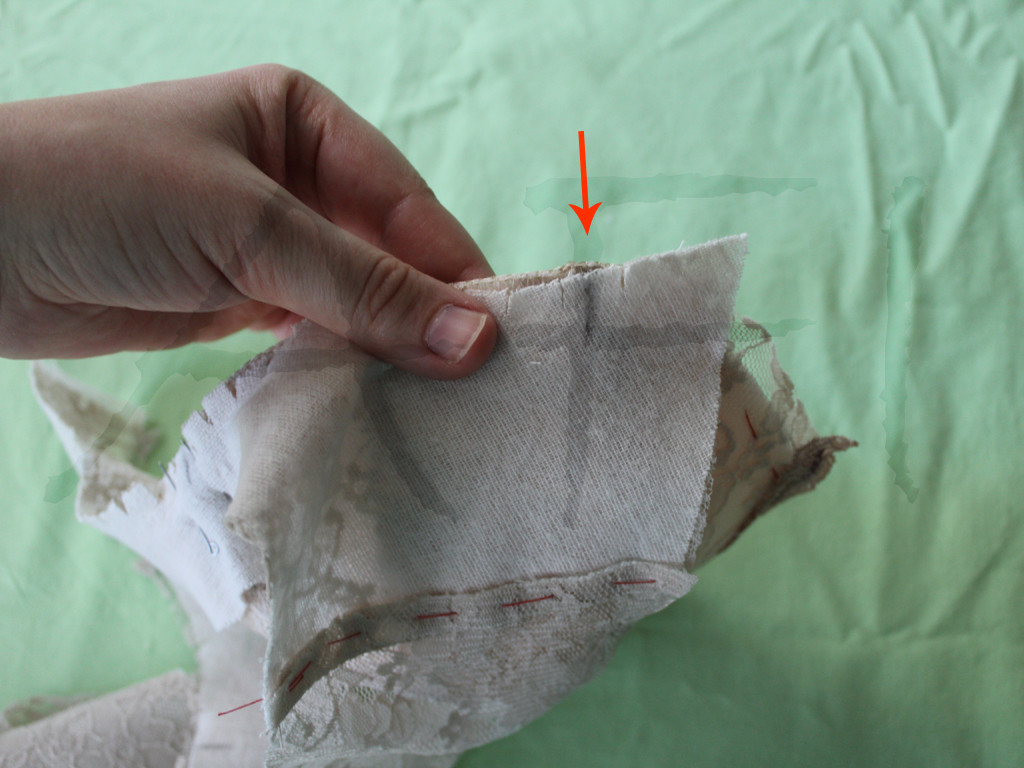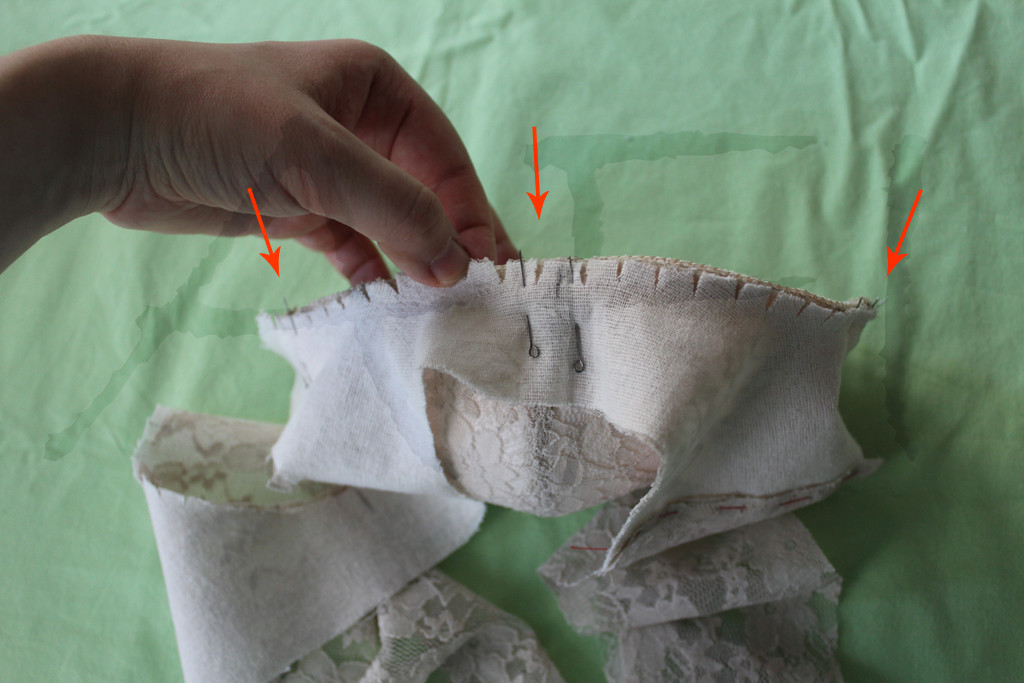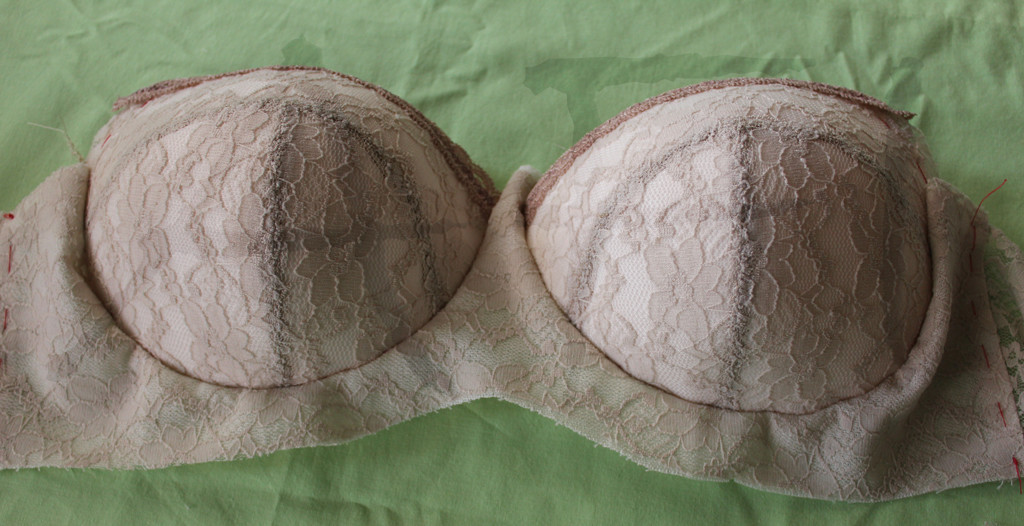
Take the cup, choose the right place on the cradle.
Pin the cup
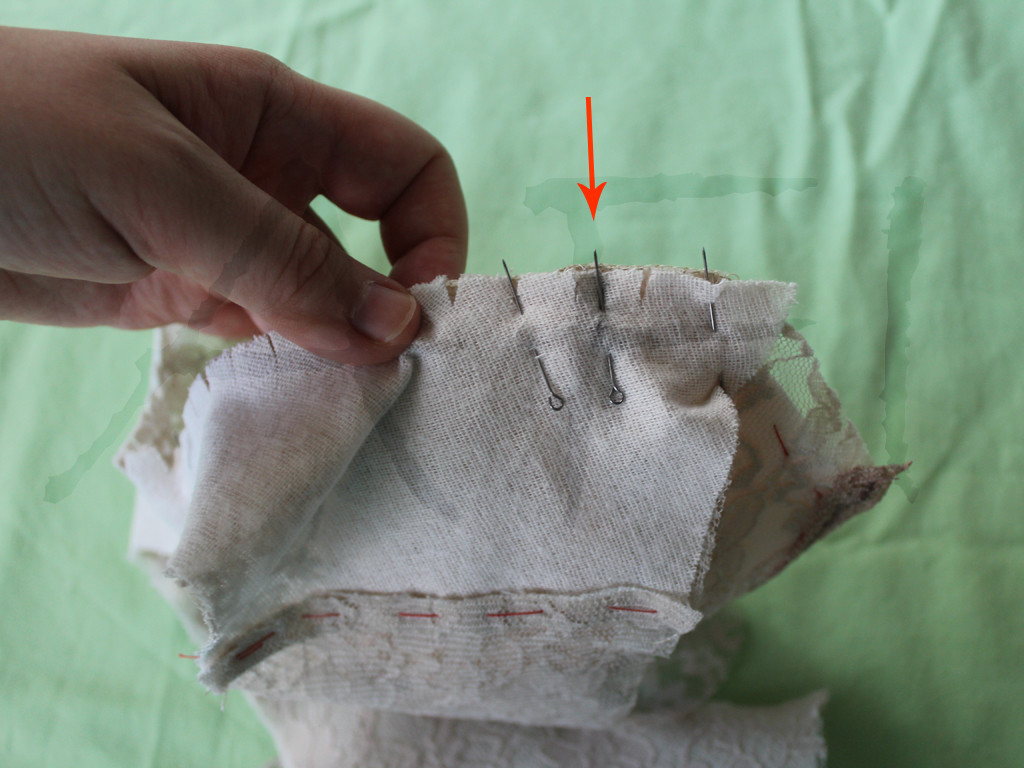
See here how cup seams must match the notches on the cradle. We will be pining the cradle to the cup in critical points. Will be doing that to fix the cup position. Later we’ll pin all around.
The most important point is the one at the bottom of the cup. We will start from there. Grab the cup and the cradle altogether.
Now cover the cup gently with the cradle to the side direction. You should have a notch to match a cup seam there as well.
And the last side is the one that goes to the center. Hold both pieces and try to cover the cup. There should be a fabric that goes beyond the cup end. It should be 8 mm – our seam allowance! If you’ve used a different amount, that amount is what you should get. Place a pin there too.

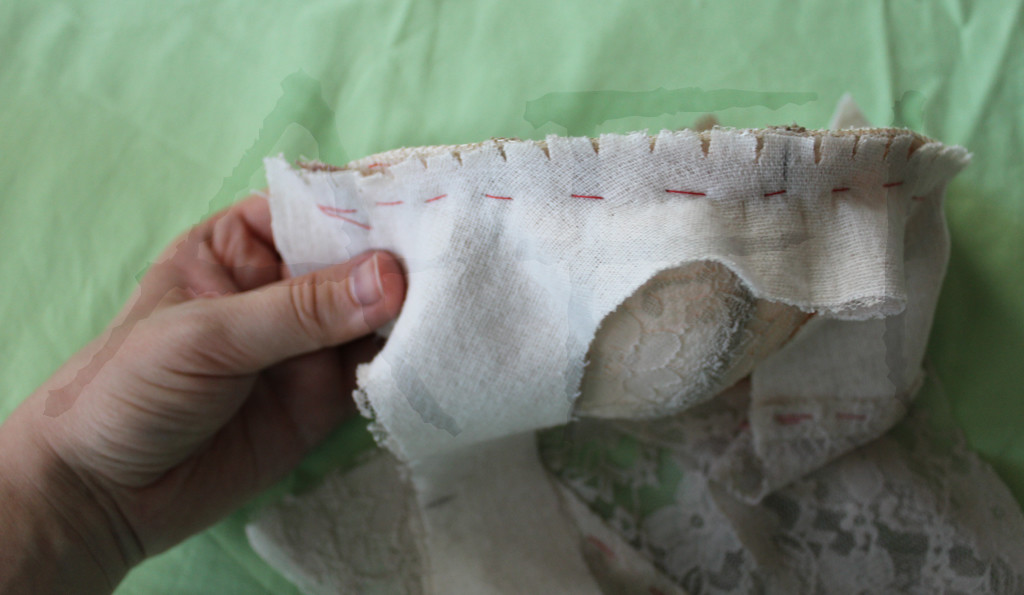
Baste the cup
And this is not ready yet. If you’re an advanced seamstress you can jump to your sewing machine. However, I do recommend for all of you to hand baste. I do it all the time!
And take the pins off. It’s a lot easier to sew on a sewing machine when you don’t have to worry about the needle stepping on a pin.
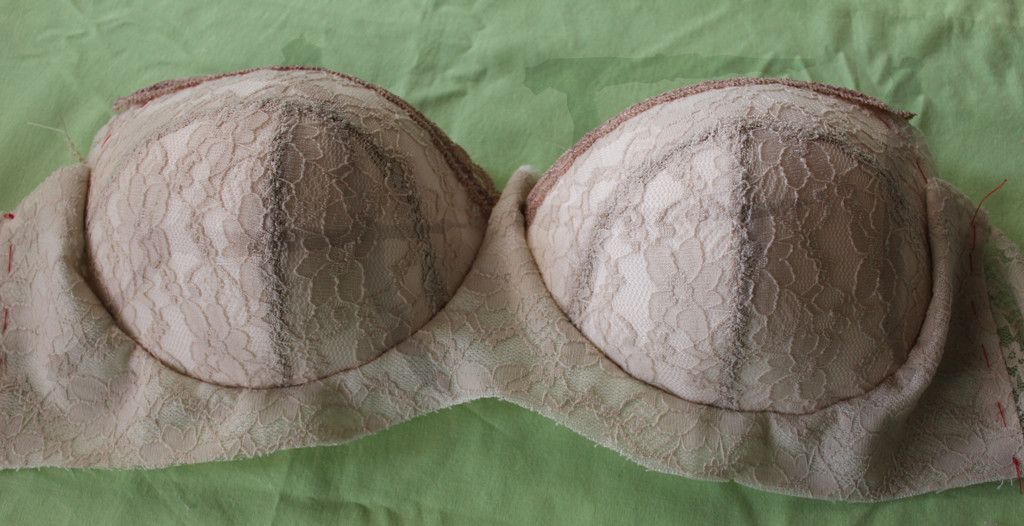
With lingerie sewing, it’s all about precision. Checks are to be made almost on every step. The first one is to see if cup seams are on the same level.
If you have cut and sewn the bra pieces following all instructions and notches they should be at the same level. Otherwise, you must find where the problem is. Find the cup you’ve attached wrongly to the cradle, unpick the baste and try sewing it again. There may be other problems, more severe: cradle was cut wrong, the cup was cut wrong, the cup was sewn incorrectly.
And one more check. Take the bridge and try overlapping cup edges. The distance (marked with a red segment) should be equal for both cups. If it’s not, then it’s once again all possible mistakes I’ve just stated above.
One thing is clear at this point. Any mistake would surface here. Actually, one mistake may be the poor pattern design and not your fault This is why we did all the pinning and hand-basting by the book. OK, ready for sewing on your machine.
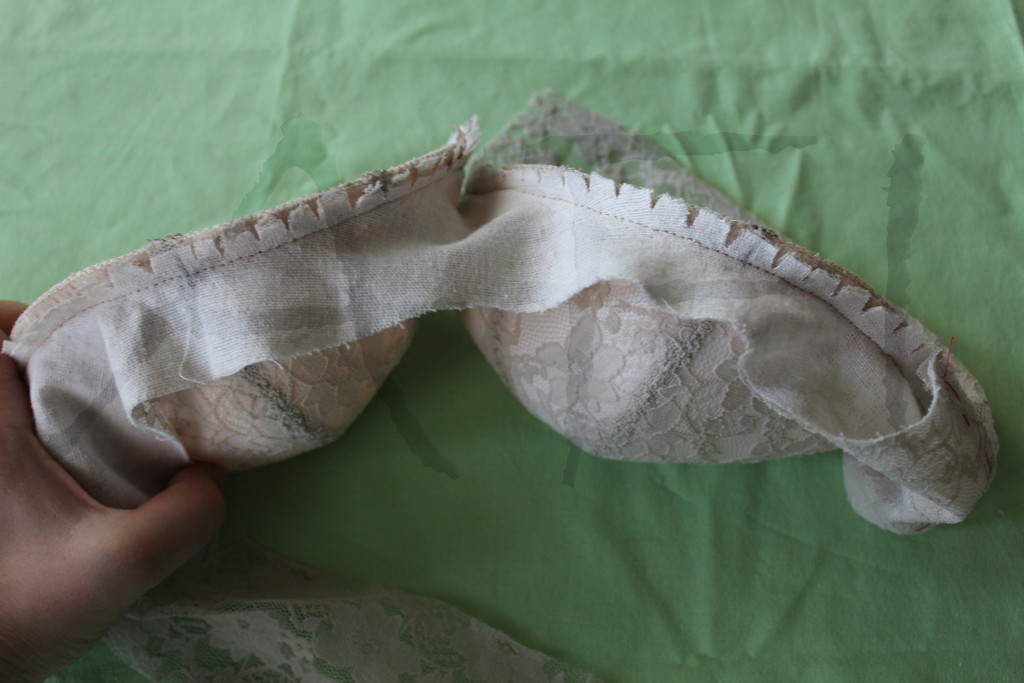
Joining the cup to the band
The stitch should intersect not one incision on the cradle. It should be like 2 – 5 mm away from the end of each cut. Re-stitch again, this time a little far from the edge, if it’s not ok.
DO NOT TRY TO APPLY THE BRA TO YOUR BODY!
This article is part of a series of articles about How to sew a bra.
