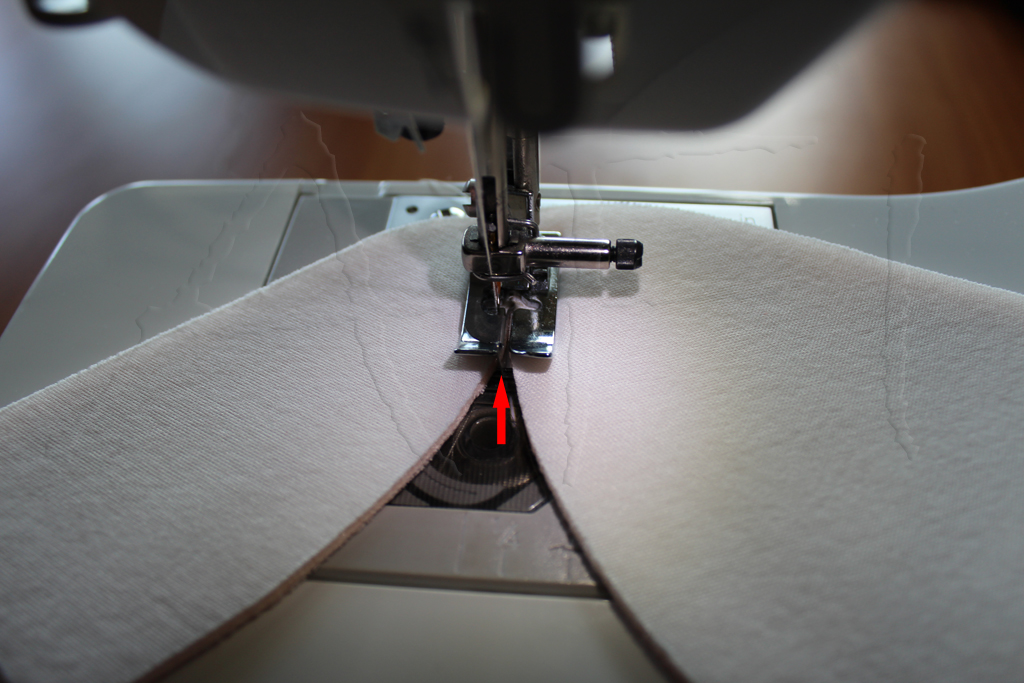
Prepare your sewing machine. I’ve told you that I use this special foot:

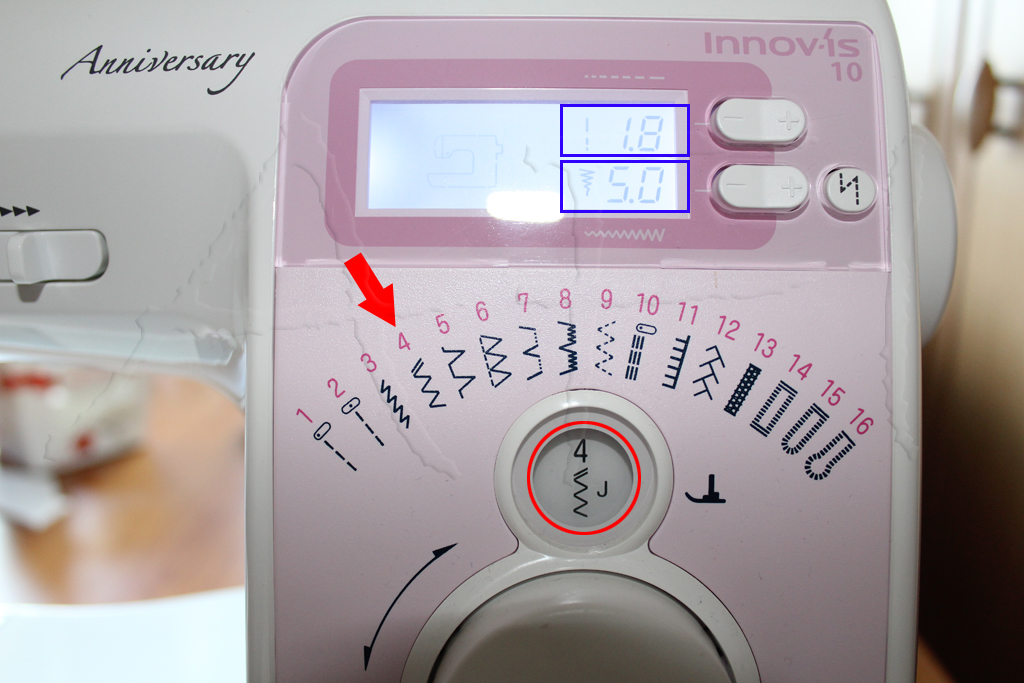
It has a guide right in the middle – a red arrow is pointing at. It will guide me when sewing pieces. You can use any other foot that provides a guide in the middle. Also, it is important that the foot can be used with a zig-zag stitch.
Setting zig-zag step width and length. For the length choose a step no bigger than 2 mm – I set it to 1.8 mm, for the step width set the value no less than 4 mm – I set it to 5 mm.
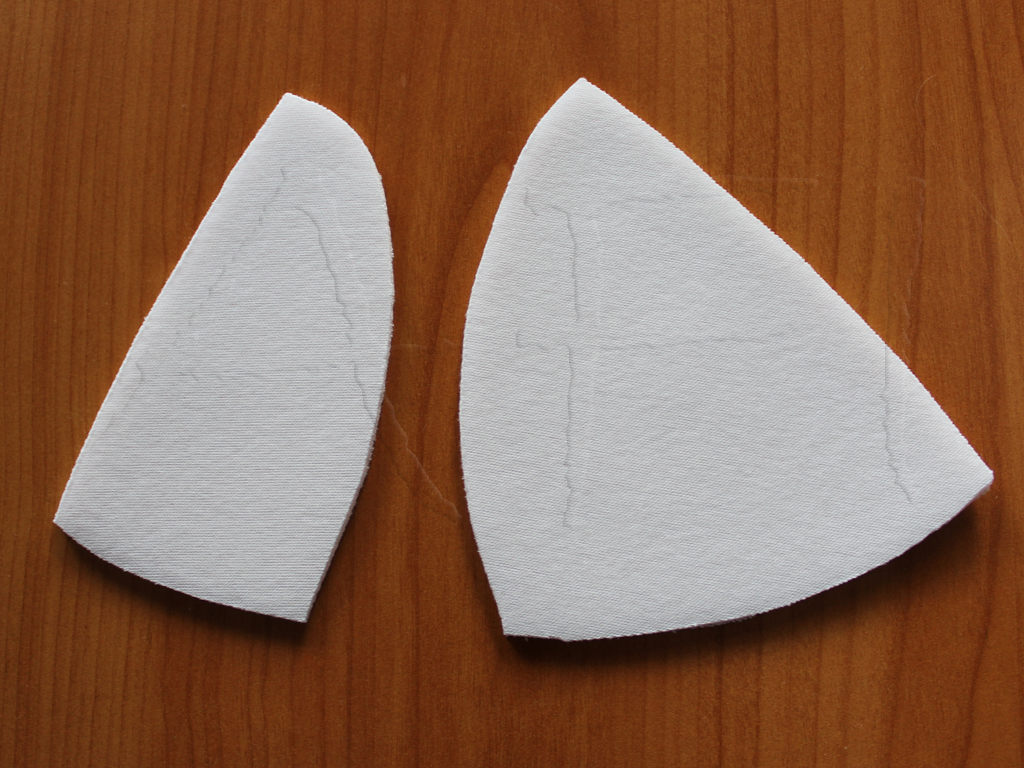
Remember the pattern pieces for these. There are 2 notches – encircled with red. When joining pieces, these notches must come together. I’m sorry guys, in my rush, I forgot to trace on my foam pieces. This is why you won’t see the notches on my foam pieces. But, please, don’t make the same mistake. Notches are a great help when sewing!
Align the pieces. It does not matter on which side you’re stitching, as long as there are notches marked and you can see them.
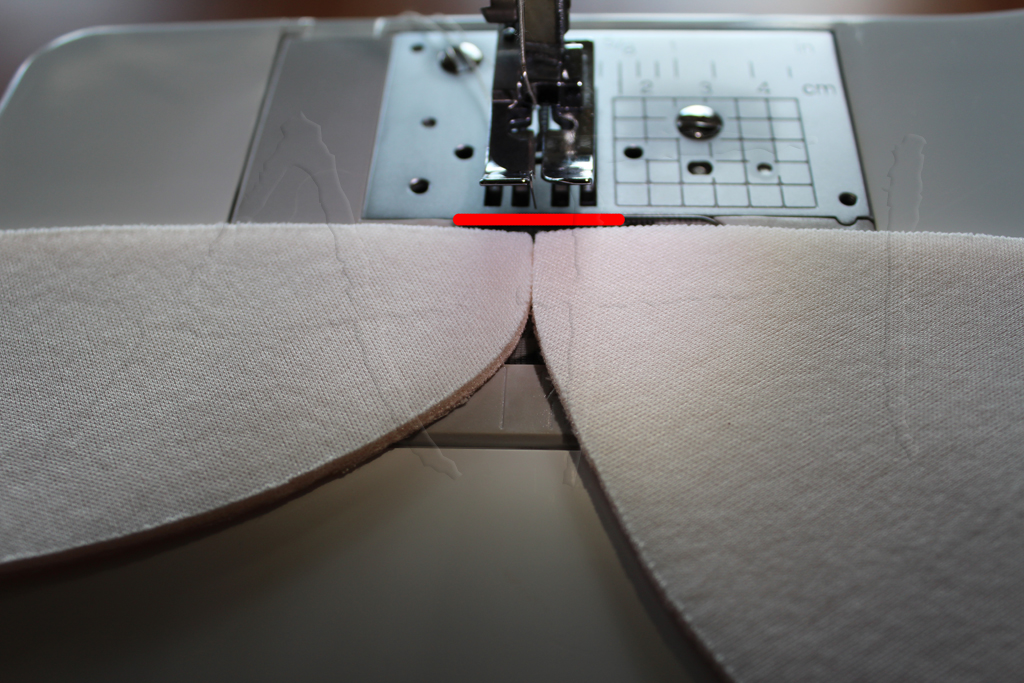
Start sewing: the foot guide tells you where the pieces come together. Do not flap one piece over the other.
This is a curved seam and it is a bit hard at first to stitch this kind of seam. But here is a trick: push gently the pieces to each other while stitching; push close to the foot on the portion that will be sewn right away.
As you go further, the cup curves. Let it curve, it will be easier for you to handle the foam. Stitch till the end.


To understand why we use zig-zag, here is a detail:

You know that in zig-zag the needle travels from left to right, from right to left, and so on. The idea is that when on the left the needle must catch the foam piece on the left when on right the needle must catch the foam piece from the right side. This way, the foam pieces are joined together.
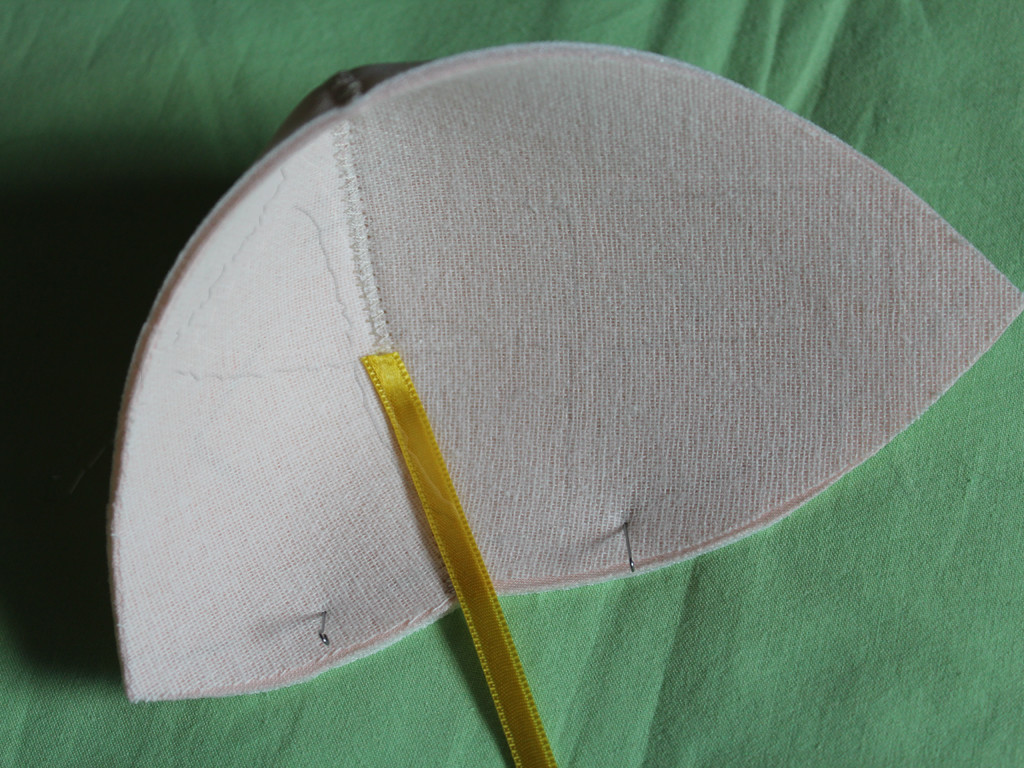
This is the lower part of a cup. And we are not done yet. What I suggest you do – for a clean finish and a professional look – is prepare some bands.
Non-stretch or not very stretchy and has a width from 5 to 10 mm. Mine here is 7 mm. You can use cotton, satin straps – anything that is fine to touch the skin. Do not use some fancy straps that have a rough surface!
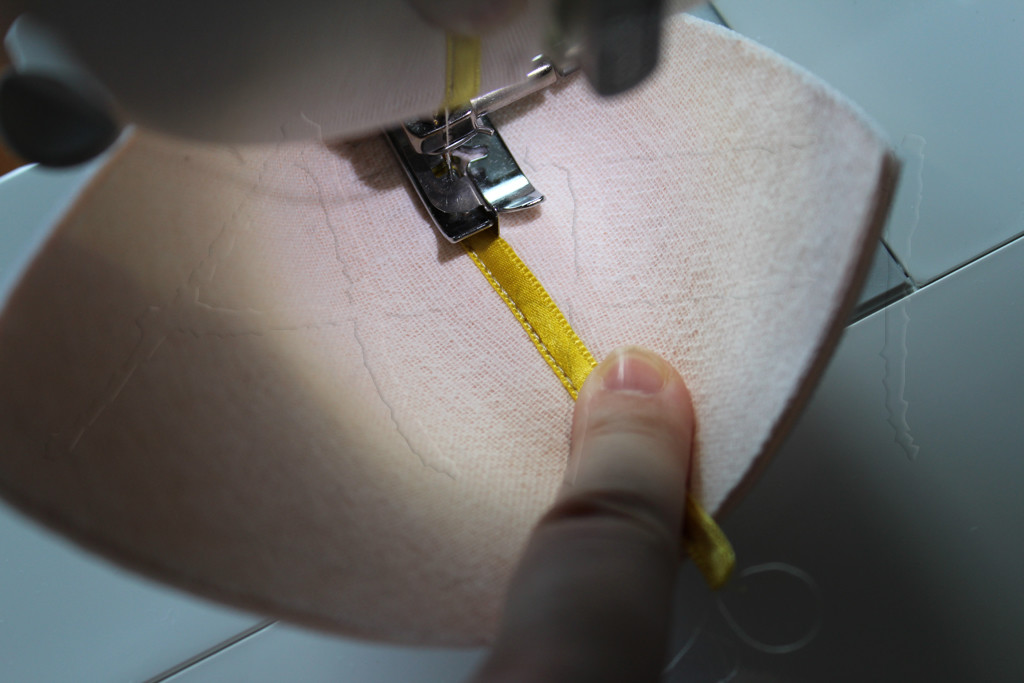
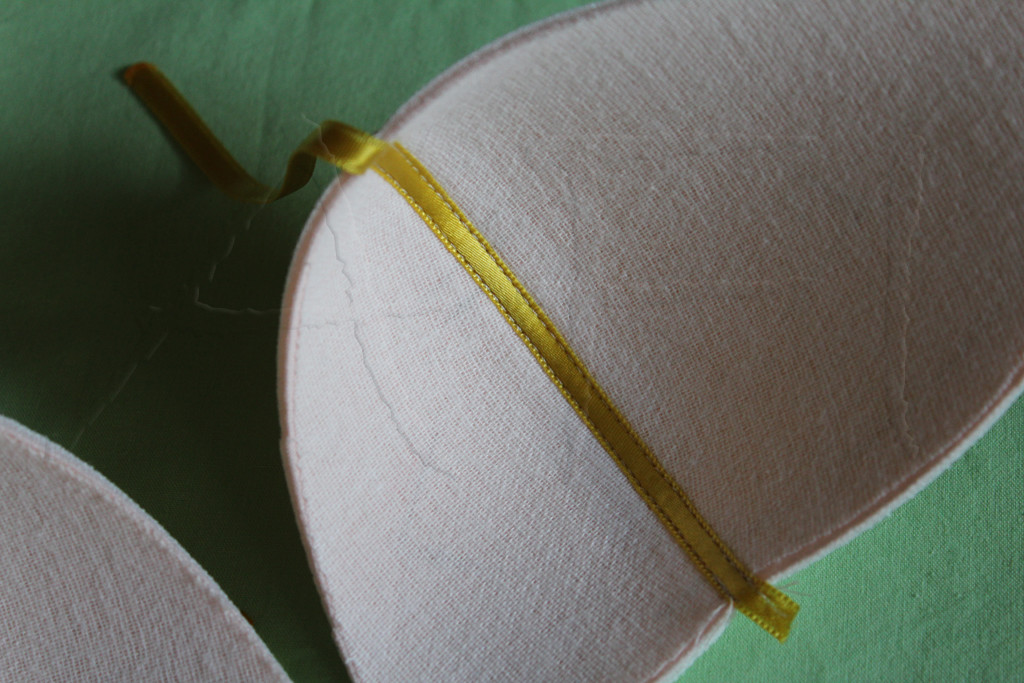
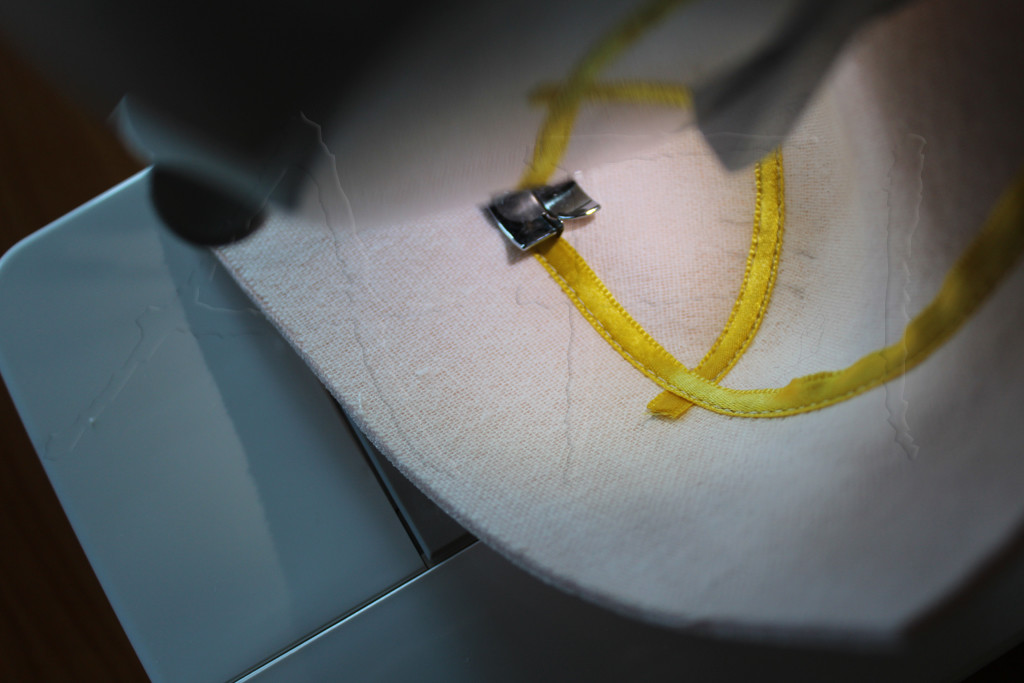
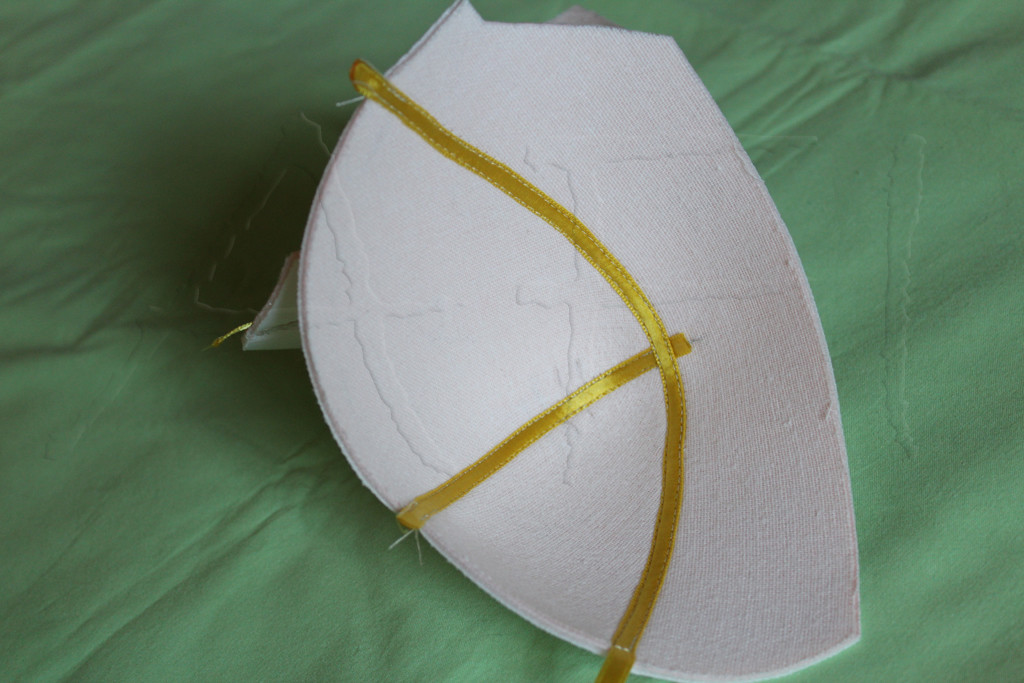
What we will be doing is cover the zig-zag seams. Important: the strap is applied on the inside part of the cup – where the lining is. In this example, the strap will cover both the foam and the lining.
Again I’m using this special foot, but with a straight stitch and (important) needle position to the left.
The red marks show where the stitch must lay. Stitch carefully. It may seem hard at first, but with a little exercise, in time you’ll get it right.
We are done with the lower part for the cups. Moving to the next step – attaching the cup top piece. Remember there is a notch as well.
Again, I’m using the special foot with a zigzag stitch. For a perfect match, I align the notch and start stitching from the notch to the end of the cup.
It is easier for first tries to stitch in halves. Now, turn the cup and stitch the other half.

What you have to do is cut carefully the visible end. For this, bend the cup; it will be easier to catch just the end and cut.
The inside of the cup is finished with yellow straps. The top will be covered with lace. But before that, we have to sew the lace layer.
This article is part of a series of articles about How to sew a bra.
